Security (Two-Factor) 🔐
The two-factor authentication (2FA) constitutes an additional layer of security designed to strengthen the protection of your account on the Back Office.
It relies on the use of two distinct elements to verify your identity when logging in. Therefore, knowing your username and password is not sufficient to access your account: a second authentication factor is also required.
This security measure helps protect your account against unauthorized access, even if your login credentials have been compromised. 🛡️
In the Back Office, two two-factor authentication methods are available:
-
📱 Google Authenticator: you authenticate yourself using a code generated by the Google Authenticator application.
-
📧 Email: you authenticate yourself using an OTP (One-Time Password) sent to the email address associated with your account.
You can choose the method that suits you and change it at any time.
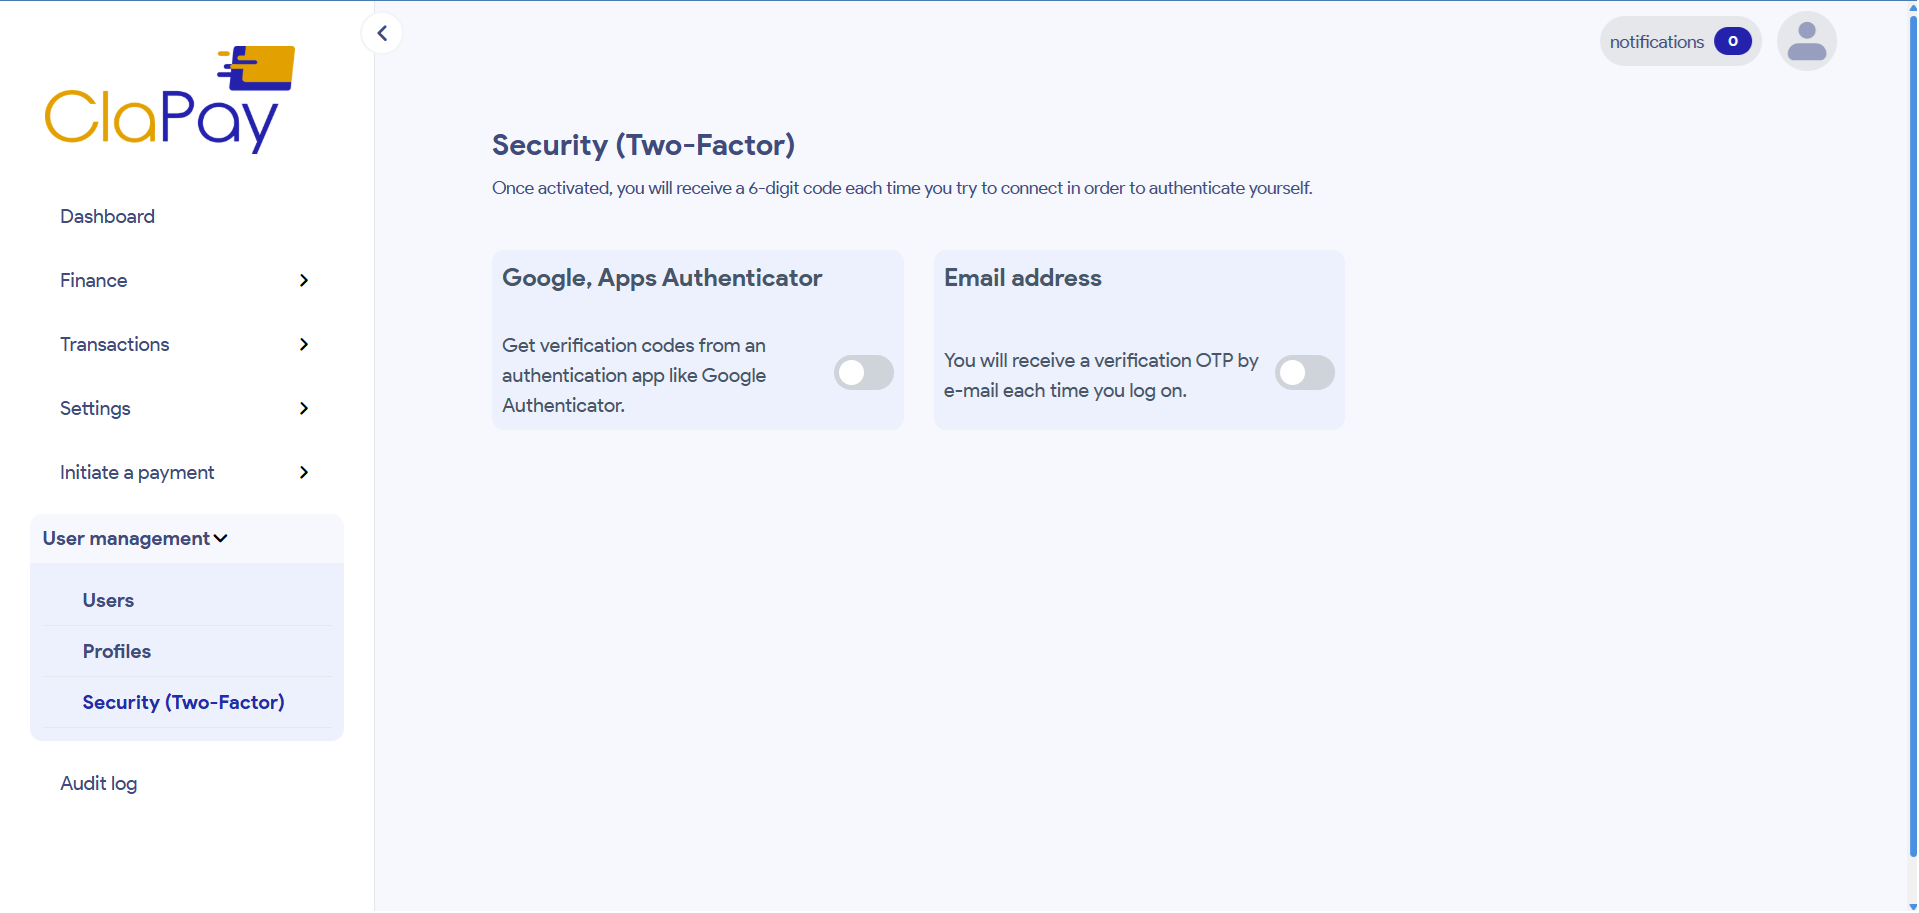
1. Enable authentication with Google Authenticator 📱
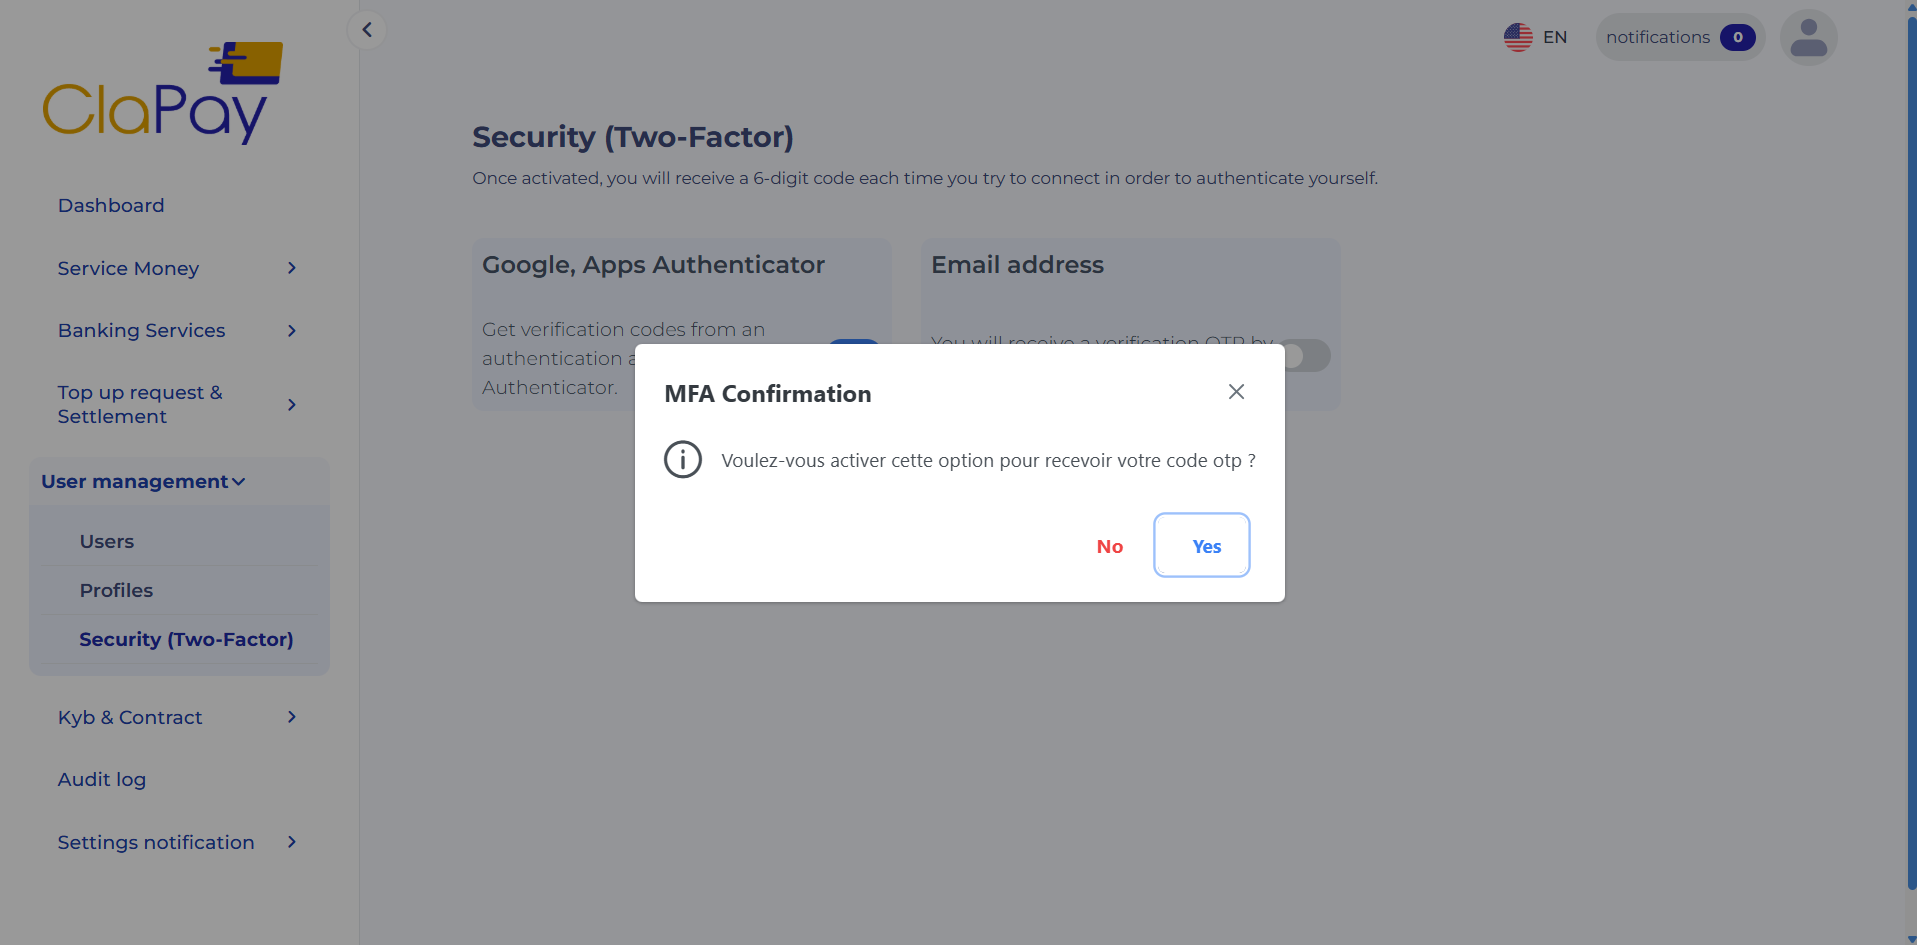
When you choose to enable two-factor authentication with Google Authenticator, a confirmation window is displayed, allowing you to confirm your choice.
After confirming your choice, a second window is displayed. It contains a QR code that allows you to configure authentication in the Google Authenticator application.
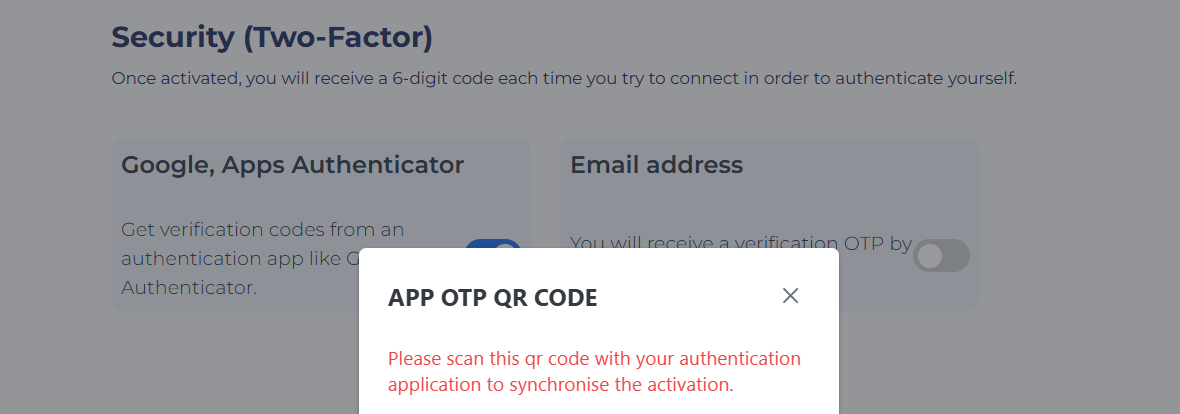
You must then open the Google Authenticator application on your phone 📱 and scan the displayed QR code.
Once the QR code has been scanned, Google Authenticator automatically generates and stores an authentication key associated with your account.
This key will then allow the application to regularly generate one-time verification codes 🔢.
You must keep access to the Google Authenticator application secure, as the generated codes will be required for your future logins to the Back Office.
2. Log in with Google Authenticator 🔑
Once two-factor authentication has been enabled with Google Authenticator, your login process changes.
After correctly entering your username and password, you are redirected to an interface asking you to enter your two-factor authentication code.

To obtain this code, you must open the Google Authenticator application on your phone.
You must then enter the 6-digit code currently displayed by the application 🔢.
If the code is valid, your authentication is confirmed and you can access your account. ✅
3. What should you do if you lose your phone or access to Google Authenticator? ⚠️
It may happen that you lose your phone 📱, no longer have access to your Google Authenticator application, or are unable to retrieve the codes generated by it.
In this situation, a recovery method is available to allow you to regain access to your account.
On the Google Authenticator code entry interface, you must select the option: “Lost your phone?” to initiate the recovery process.

This option allows you to initiate an alternative authentication procedure using the email address associated with your account.
4. Verify your identity by email 📧
After selecting “Lost your phone?”, a new interface is displayed and allows you to use your email address to receive a verification code.

You must confirm the use of this method.
An OTP code is then sent to the email address used when creating your account 📩.
You must check your inbox, retrieve the code received, and then enter it in the interface provided for this purpose.
If the code is entered and validated correctly, your identity is confirmed and you can access your account again. ✅
5. Switch from Google Authenticator to email authentication 🔄
Following this recovery procedure, your account's two-factor authentication switches to the email method.
Therefore, during your subsequent logins, after entering your username and password, an OTP code will be sent to you by email 📧.
You will need to enter this code in the verification interface to complete your login.
As long as email authentication remains enabled, this procedure will be applied to each of your new logins requiring two-factor authentication.
6. Re-enable Google Authenticator 🔄
Switching to email authentication is not permanent.
If you later regain access to your Google Authenticator application or recover the phone on which it was configured, you can choose this authentication method again.
You can therefore switch back to Google Authenticator 📱 and stop using email authentication as your second authentication factor.
This option allows you to adapt your authentication method to your situation at any time.
7. Disable two-factor authentication 🔓
You can also choose to completely disable two-factor authentication if you no longer wish to use this feature.
In this case, the two-factor authentication methods configured on your account are disabled, and your login process will no longer require an additional verification code.
Disabling 2FA reduces the level of security of your account.
It is therefore strongly recommended that you keep this feature enabled in order to benefit from enhanced protection against unauthorized access. 🛡️
Summary of the process 📋
The two-factor authentication process in the Back Office can be summarized as follows.
📱 Google Authenticator enabled
-
You log in using your username and password.
-
You open the Google Authenticator application.
-
You retrieve the 6-digit code 🔢.
-
You enter the code in the Back Office.
-
You access your account. ✅
⚠️ You lose your phone or access to Google Authenticator
-
You select “Lost your phone?”.
-
You choose email authentication.
-
You receive an OTP code at the email address associated with your account 📧.
-
You enter and validate the code.
-
You regain access to your account. ✅
-
Your two-factor authentication method switches to email 🔄.
📧 Email authentication enabled
-
You log in using your username and password.
-
You receive an OTP code by email.
-
You enter the code received 🔢.
-
You validate the code.
-
You access your Back Office. ✅
💡You can switch back to Google Authenticator or disable two-factor authentication at any time, according to your needs.
Was this page helpful?