Profiles
The Profiles section allows you to manage user profiles in the ClaPay Back Office 🛡️.
You can view and edit profile details, including permissions and roles assigned to each user 🧑💼.
🆕 How to create a profile?
To create a new profile, follow these steps:
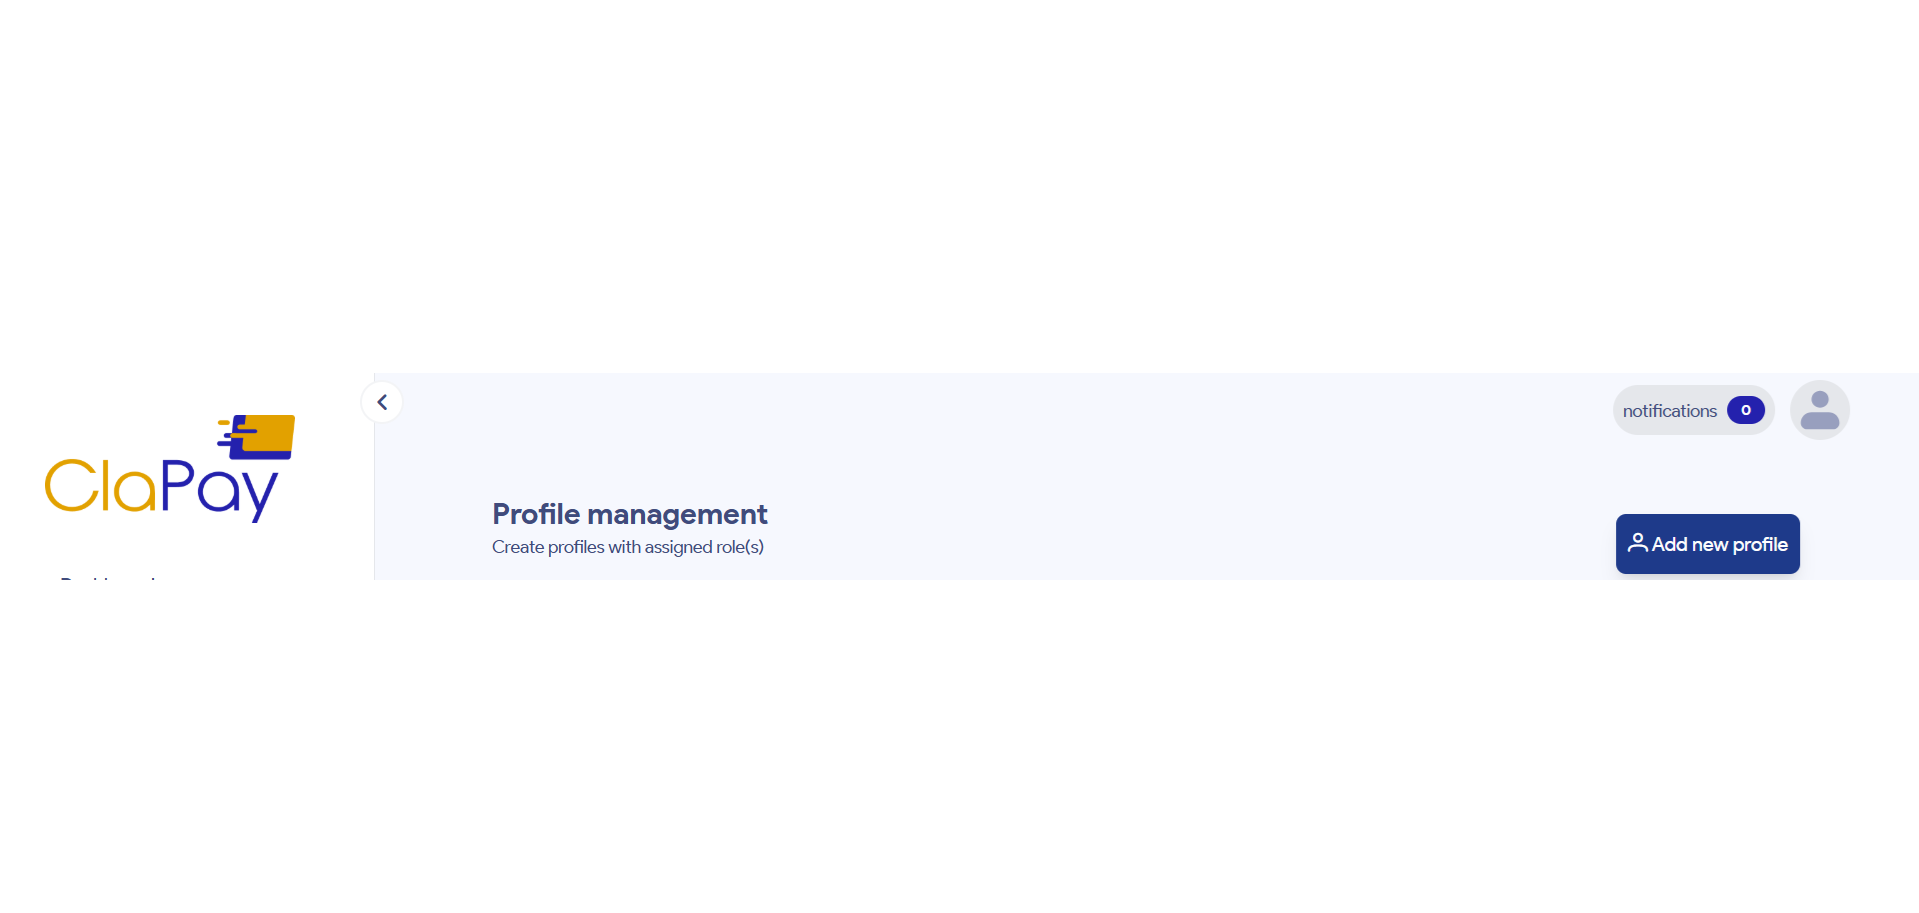
1️⃣ Click on the button "Add new profile"
Click on the button Add new profile ➕ to open the profile creation form.
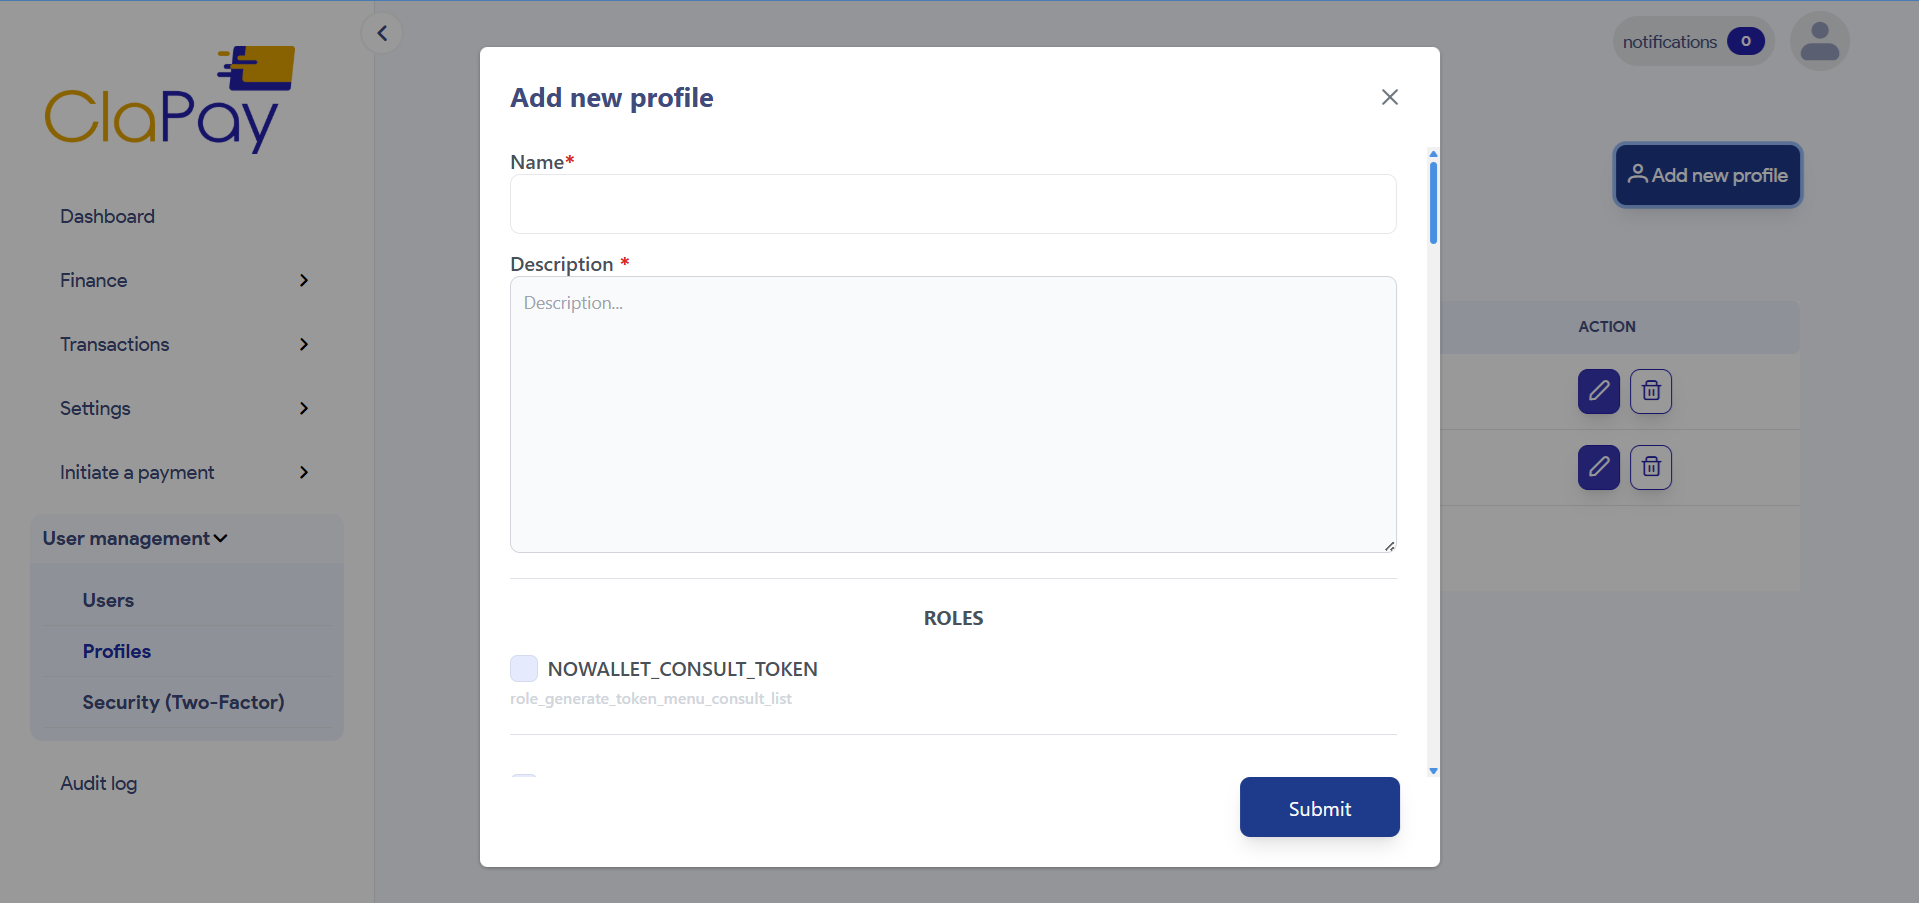
2️⃣ Fill in the profile details
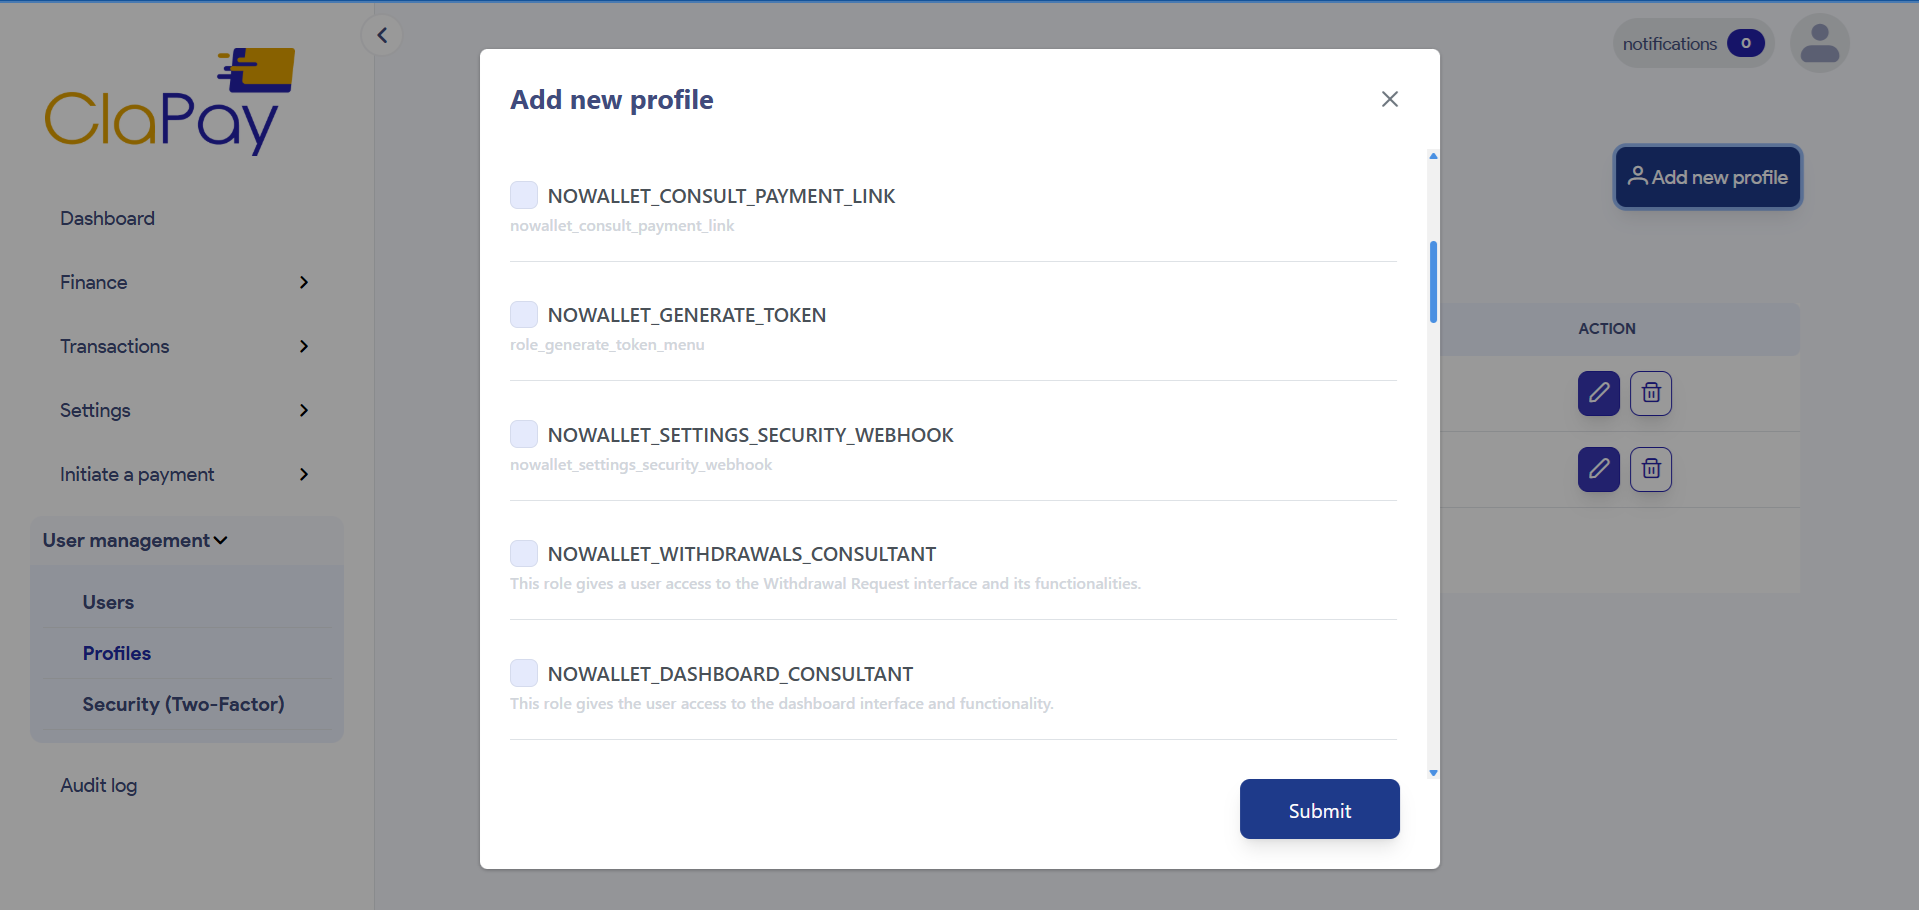
Fill in the required fields (marked with an asterisk ✳️) and select the roles to be added to the profile you are creating.
🔐 These profiles are security elements that define access rights to the application's various menus.
🏷️ Example of profiles
Administrator
This profile can contain roles giving access to all application functions ⚙️.
3️⃣ Click on the button "Submit"
Click on the button Submit ✅ to confirm profile creation.
Once a profile has been created, you can assign it to a user 👤, and it will be available in the profile list when a user is created or modified.
You can also modify ✏️ or delete 🗑️ it by clicking on the buttons with the icons.
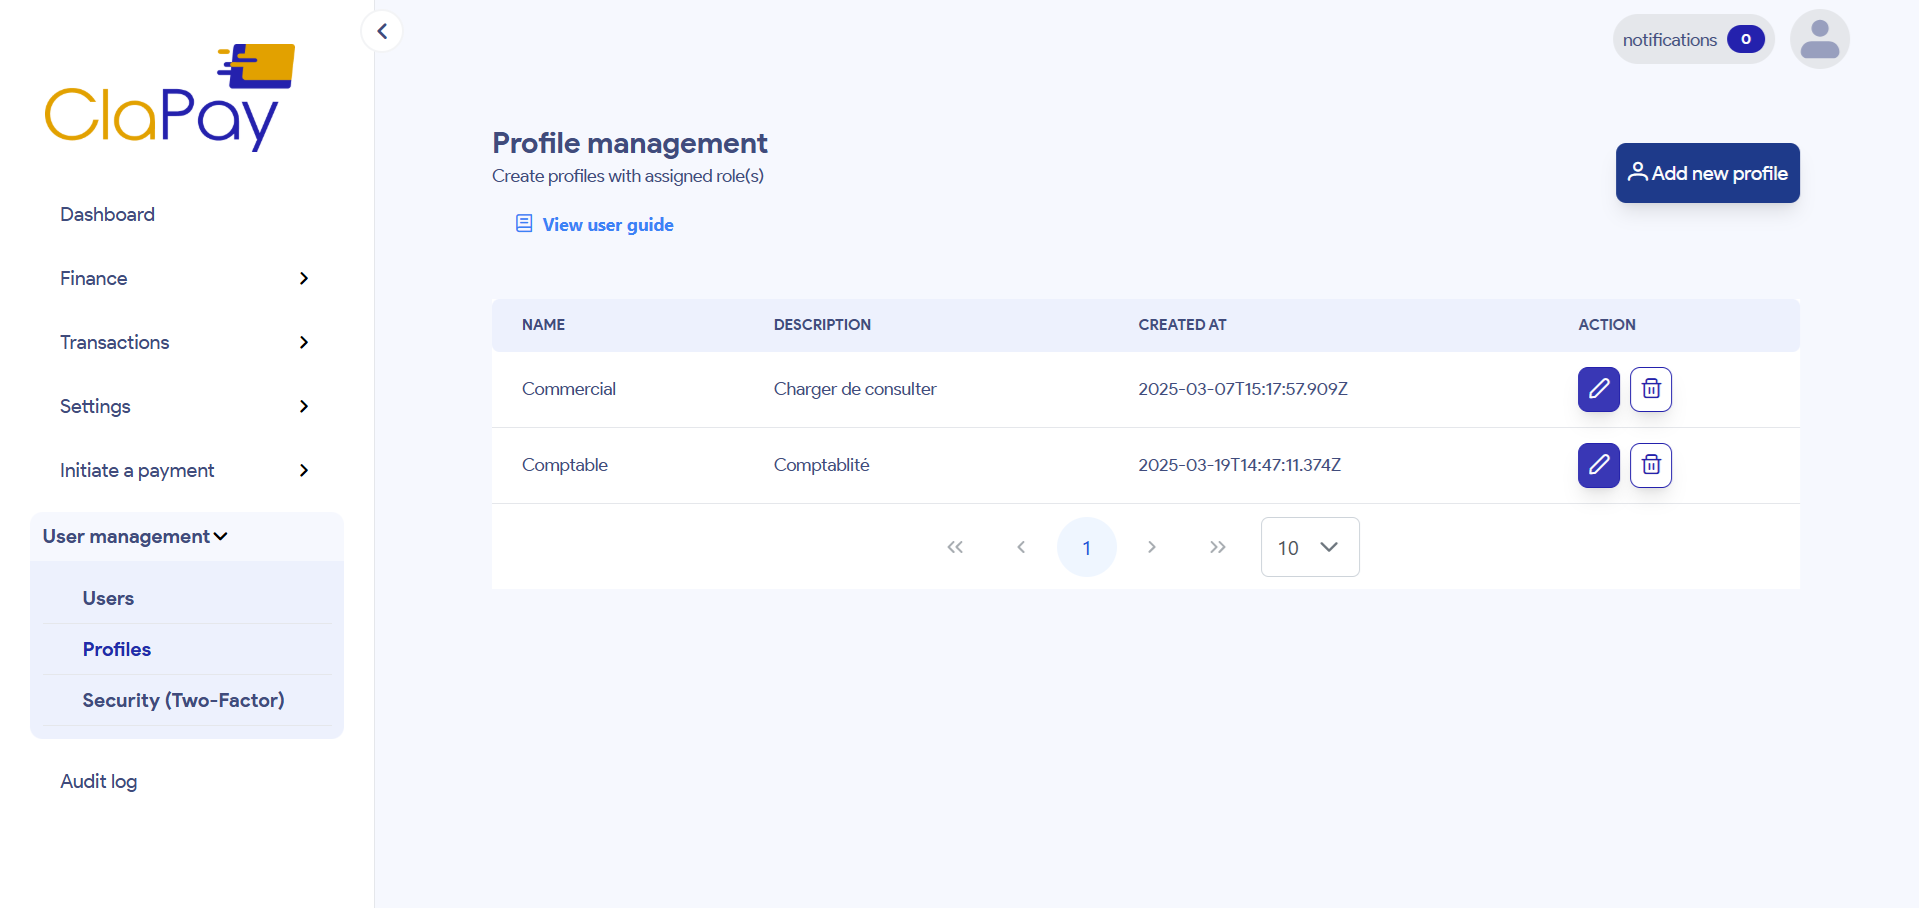
📋 List of Profiles
You can view the list of all profiles in the Profiles section 📁.
Each entry will display the profile name 🏷️, description 📝, creation date 📅, and actions ⚙️.
✏️ Edit profile information
When you click on the Edit button icon, a modal will open with the profile details 🧾.
You can modify the profile information and click on the Submit button 💾 to save the changes.

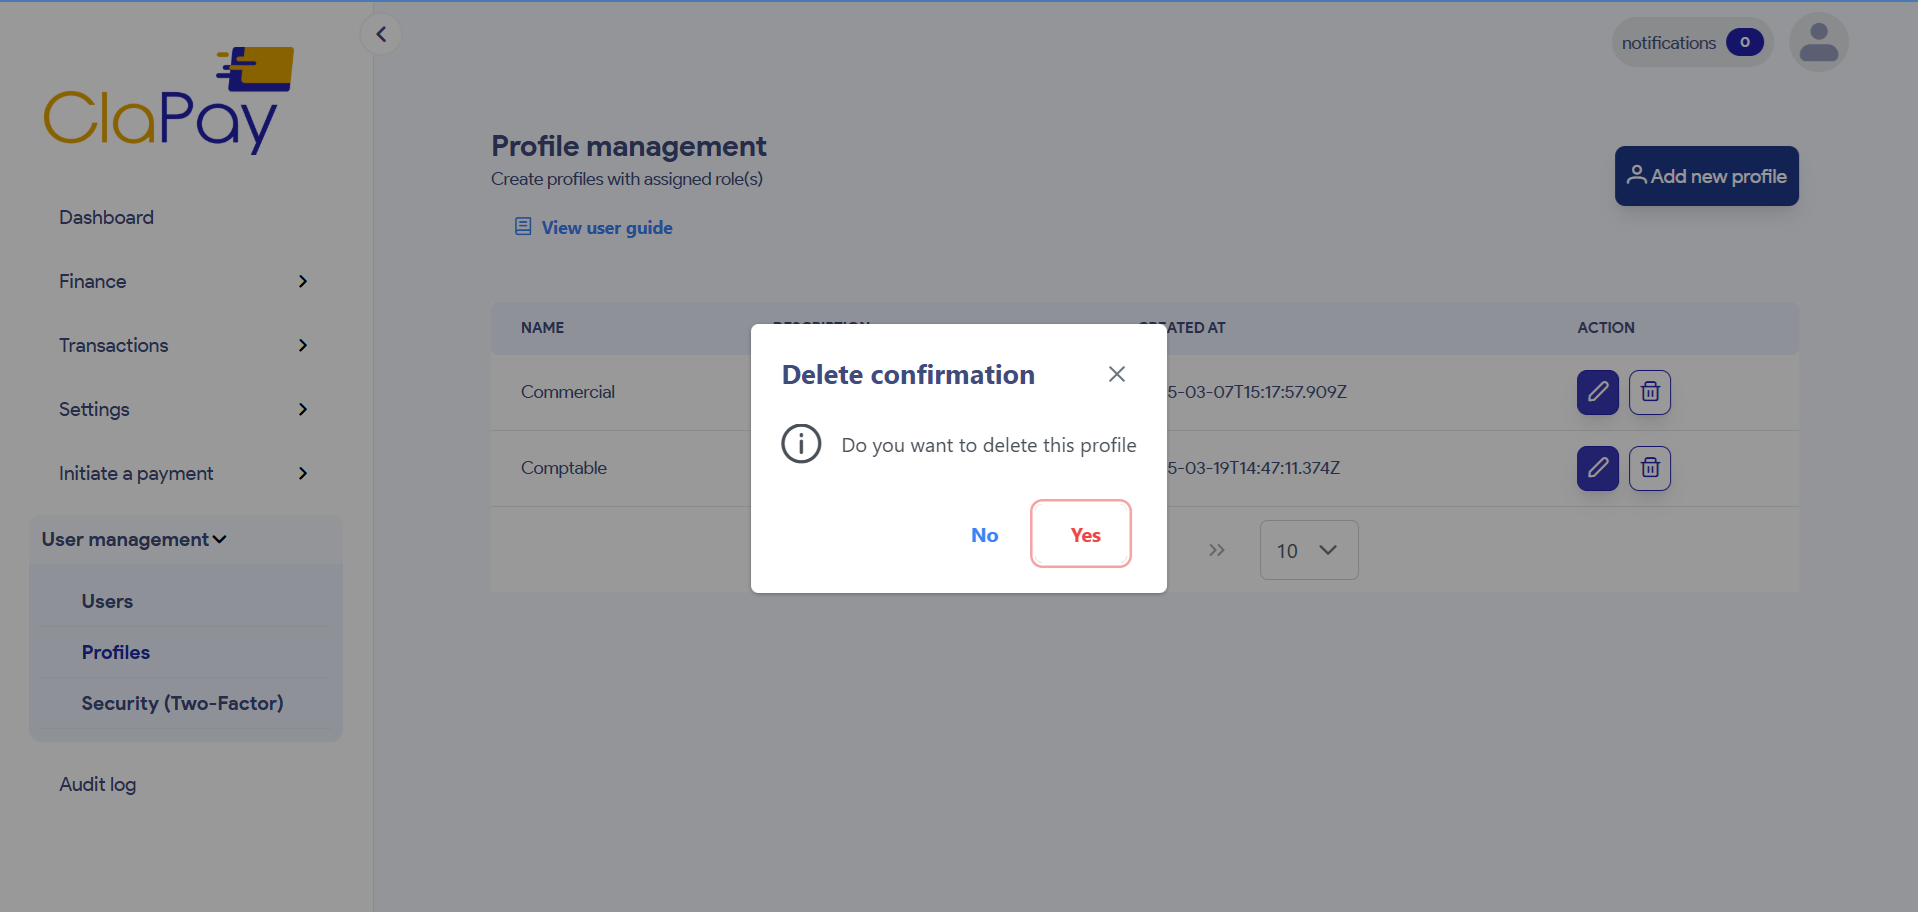
🗑️ Delete profile confirmation
When you click on the Delete button icon, a confirmation modal will appear ⚠️.
You can confirm the deletion of the profile by clicking on the Yes ✅ button in the confirmation modal or cancel the deletion by clicking on the No ❌ button.
Was this page helpful?