🔔 Notification Settings
Set up service-based notifications with immediate delivery and email as the delivery channel.
Each event automatically triggers a real-time notification, allowing users to be instantly informed of important actions or updates related to the selected services.
This ensures maximum responsiveness and rapid decision-making without delay ⚡.
⚙️ Step 1: Configure Notification Settings
To configure notification settings, click on the "Add Notification Settings" button at the top right corner of the page.
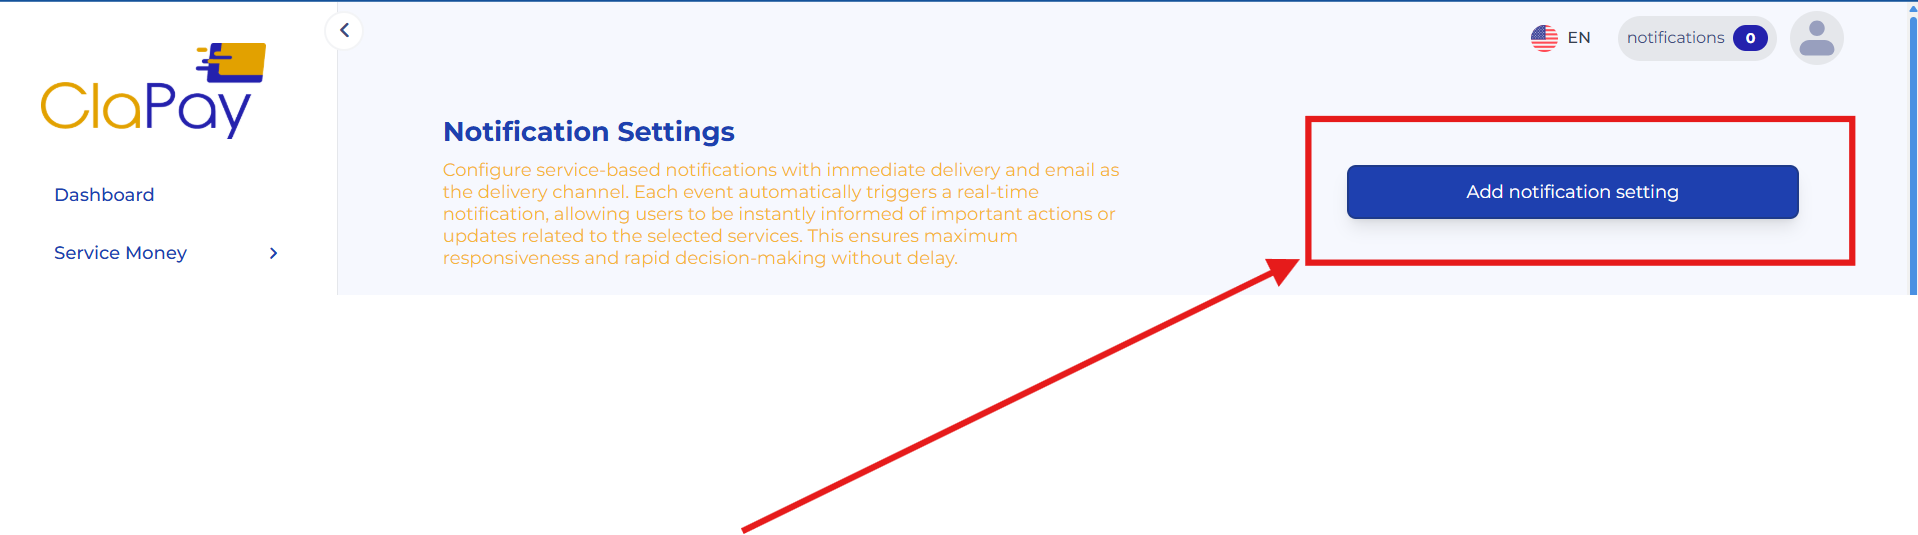
This will open a form where you can specify the details of the notification settings 📝.
🧾 Step 2: Fill in the Notification Details
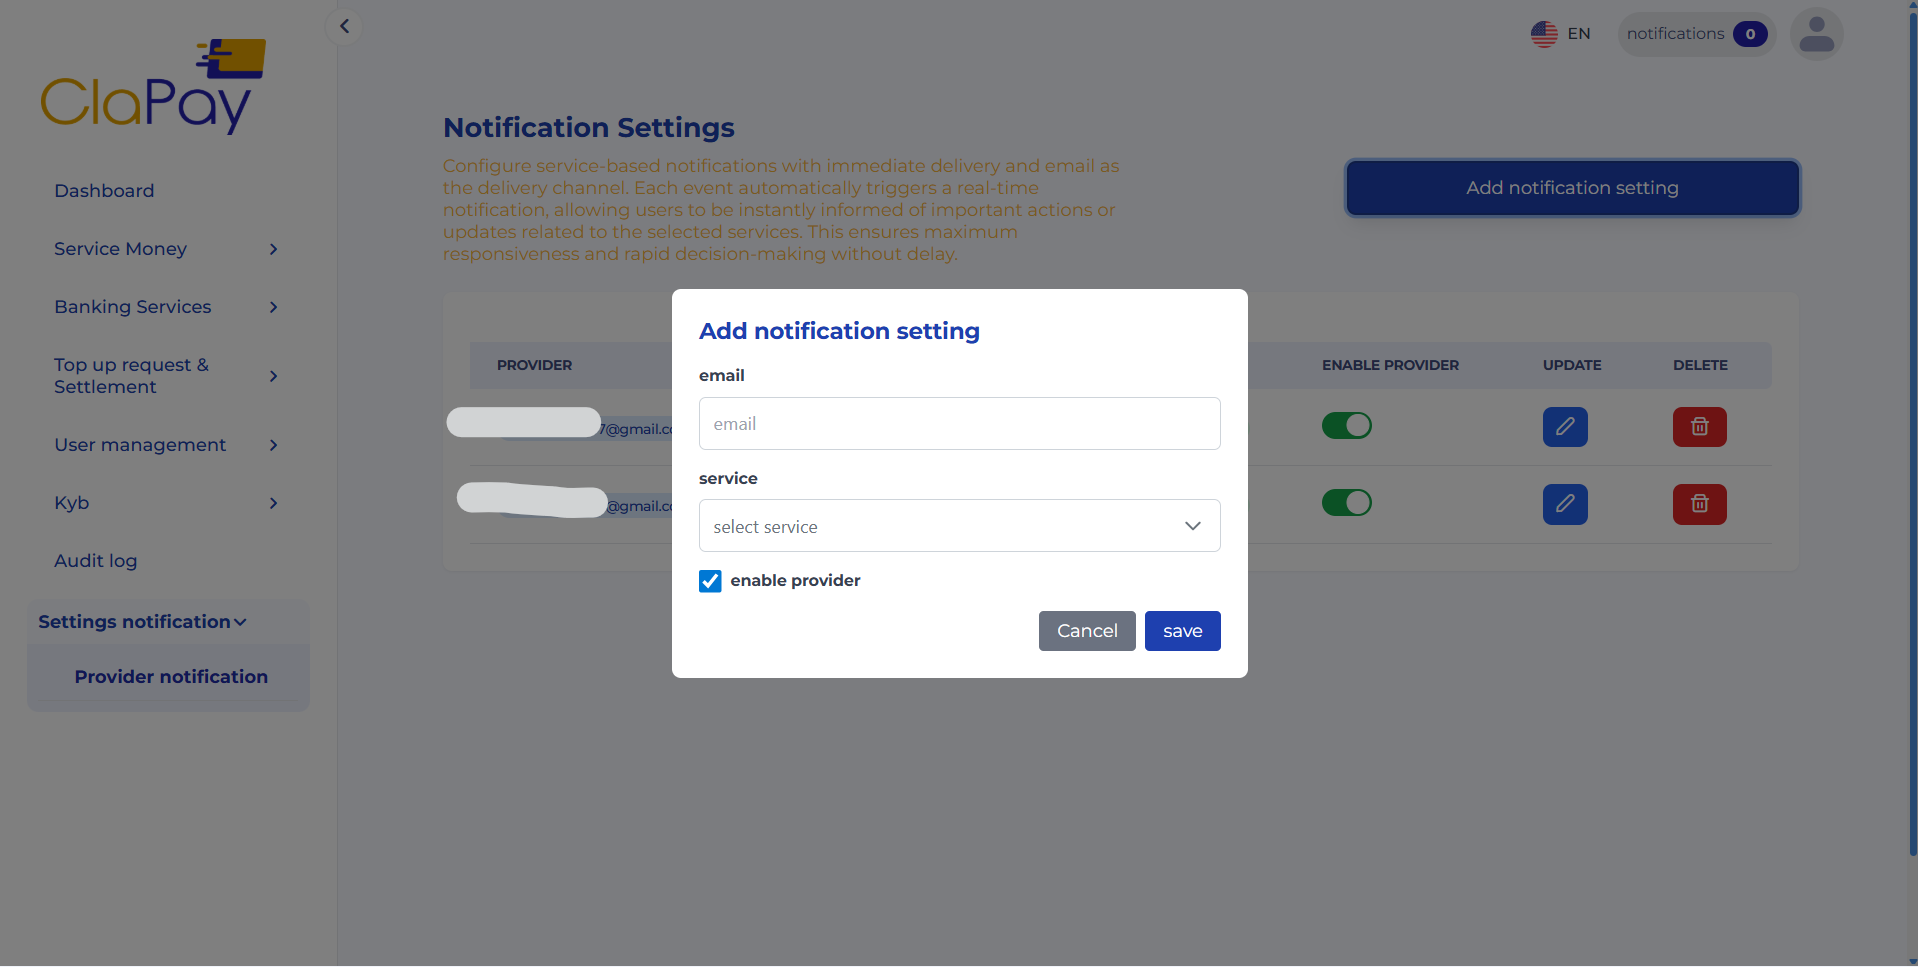
In the form, you will need to provide the following information:
- 📧 Email : Enter the email address where you want to receive the notifications.
- 🧩 Service : Select the service for which you want to receive notifications.
Once completed, click the "Save" button to save your notification settings 💾.
📊 Step 3: Manage Your Notification Settings
After saving your notification settings, they will be displayed in a table on the main page.
From this table, you can easily manage your settings by editing or deleting them as needed ⚙️.

- ✏️ To edit a notification setting, click on the "Edit" button next to the setting you want to modify.
- 🗑️ To delete a notification setting, click on the "Delete" button next to the setting you want to remove.
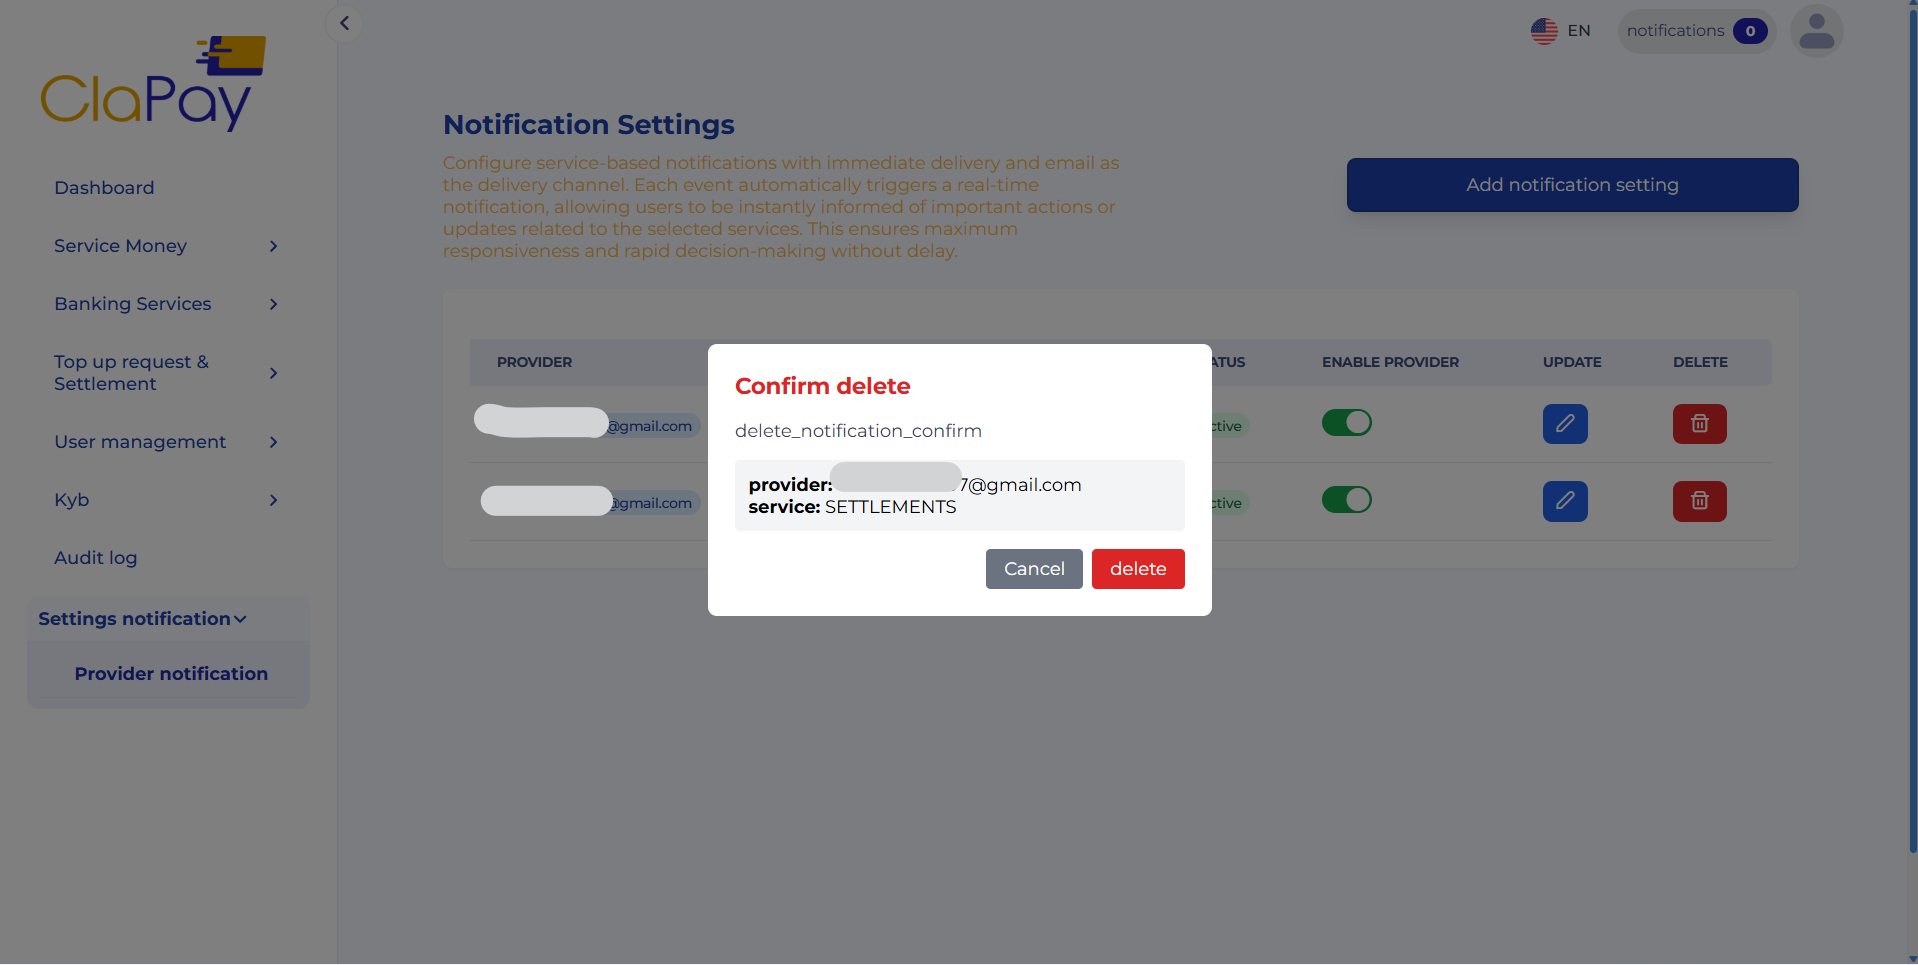
⚠️ Confirm the deletion when prompted to ensure that you do not accidentally remove important notification settings.
By following these steps, you can effectively manage your notification settings and ensure that you receive timely updates related to the selected services 🚀.
Was this page helpful?